Tiling – Level 3
About this course
Tiling – Level 3
This structured guide outlines five key modules for mastering Level 3 Tiling, covering essential techniques, materials, and advanced practices for professional tilers.
Module 1: Advanced Surface Preparation
Topics:
Assessing substrate conditions (concrete, plasterboard, plywood)
Correcting uneven surfaces (self-leveling compounds, patching)
Waterproofing wet areas (shower tanks, membranes)
Primers and bonding agents for different substrates
Practical Task:
Prepare a mock wall/floor with imperfections and apply corrective measures.
Module 2: Precision Layout & Design
Topics:
Advanced measuring and marking techniques
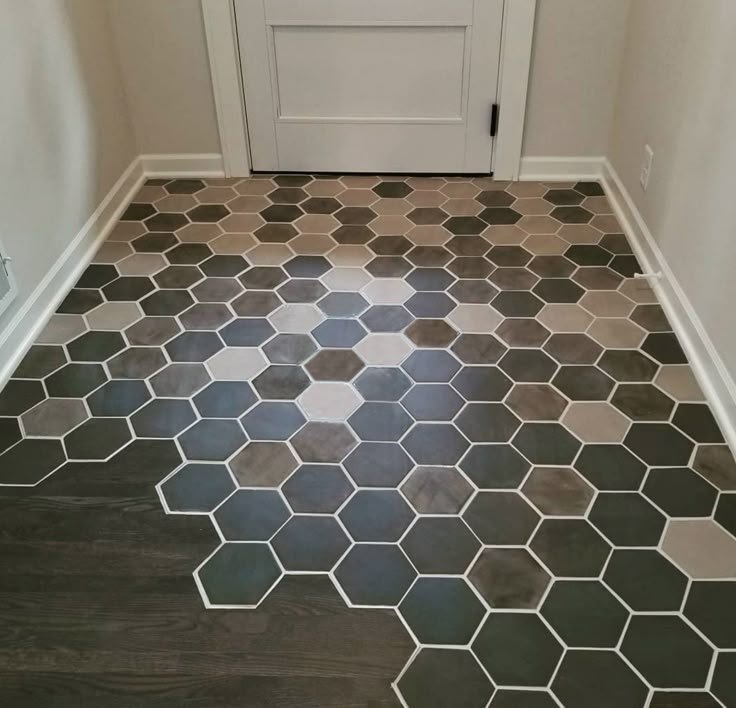
Working with geometric patterns (herringbone, basketweave, hexagons)
Avoiding awkward cuts around obstacles (pipes, niches)
Calculating tile quantities with waste factors
Practical Task:
Plan and mark a complex layout on a floor/wall, including pattern transitions.
Module 3: Cutting & Shaping Techniques
Topics:
Using wet saws, manual cutters, and angle grinders
Cutting curves, circles, and notches
Mitre cuts for edge trim and bullnose tiles
Safe handling of porcelain, ceramic, and natural stone
Practical Task:
Execute precise cuts for a mixed-material tile installation.
Module 4: Adhesives, Grouting & Finishing
Topics:
Selecting adhesives (cementitious, epoxy, polymer-modified)
Applying grout (sanded vs. unsanded, epoxy grout)
Avoiding lippage and achieving flush joints
Sealing tiles and grout for longevity
Practical Task:
Install tiles with varied grout joint widths and apply sealing.
Module 5: Problem Solving & Complex Installations
Topics:
Troubleshooting common issues (cracking, hollow tiles, efflorescence)
Large-format tile installation tips
Heated floor systems under tiling
Commercial vs. residential tiling standards
Practical Task:
Diagnose and repair a pre-made flawed tile installation.
Assessment:
Each module concludes with a hands-on project and written quiz.
Final evaluation: Complete a full tiling project incorporating all 5 modules.
This structured approach ensures mastery of Level 3 Tiling, combining theory, precision techniques, and real-world problem-solving.
Comments (0)
Advanced surface preparation involves techniques beyond basic cleaning and prepping for coatings or finishes. It focuses on creating a specific surface profile, modifying the chemical composition, or removing contaminants with more advanced methods like abrasive blasting, chemical treatments, or specialized cleaning processes.
Precision Layout & Design refers to a specialized area of design that focuses on achieving accuracy and control over the placement and arrangement of elements within a given space or medium. It's a meticulous approach that ensures elements are positioned exactly where intended, resulting in a highly controlled and visually appealing layout.
Cutting and shaping techniques refer to the various methods used to modify the size, shape, or form of materials. These techniques can be broadly categorized into cutting (separating materials), shaping (altering the form), and finishing (smoothing or refining the surface). Examples include sawing, shearing, milling, turning, drilling, grinding, and laser cutting.
Essentially, tile adhesive is the compound used to stick the tiles down, to the wall or floor. Tile grout, however, is the mortar used to fill in the gaps/spacing between the tiles and create a uniform finish. Tile adhesive can form part of the step of laying new tiles or over existing tiles.